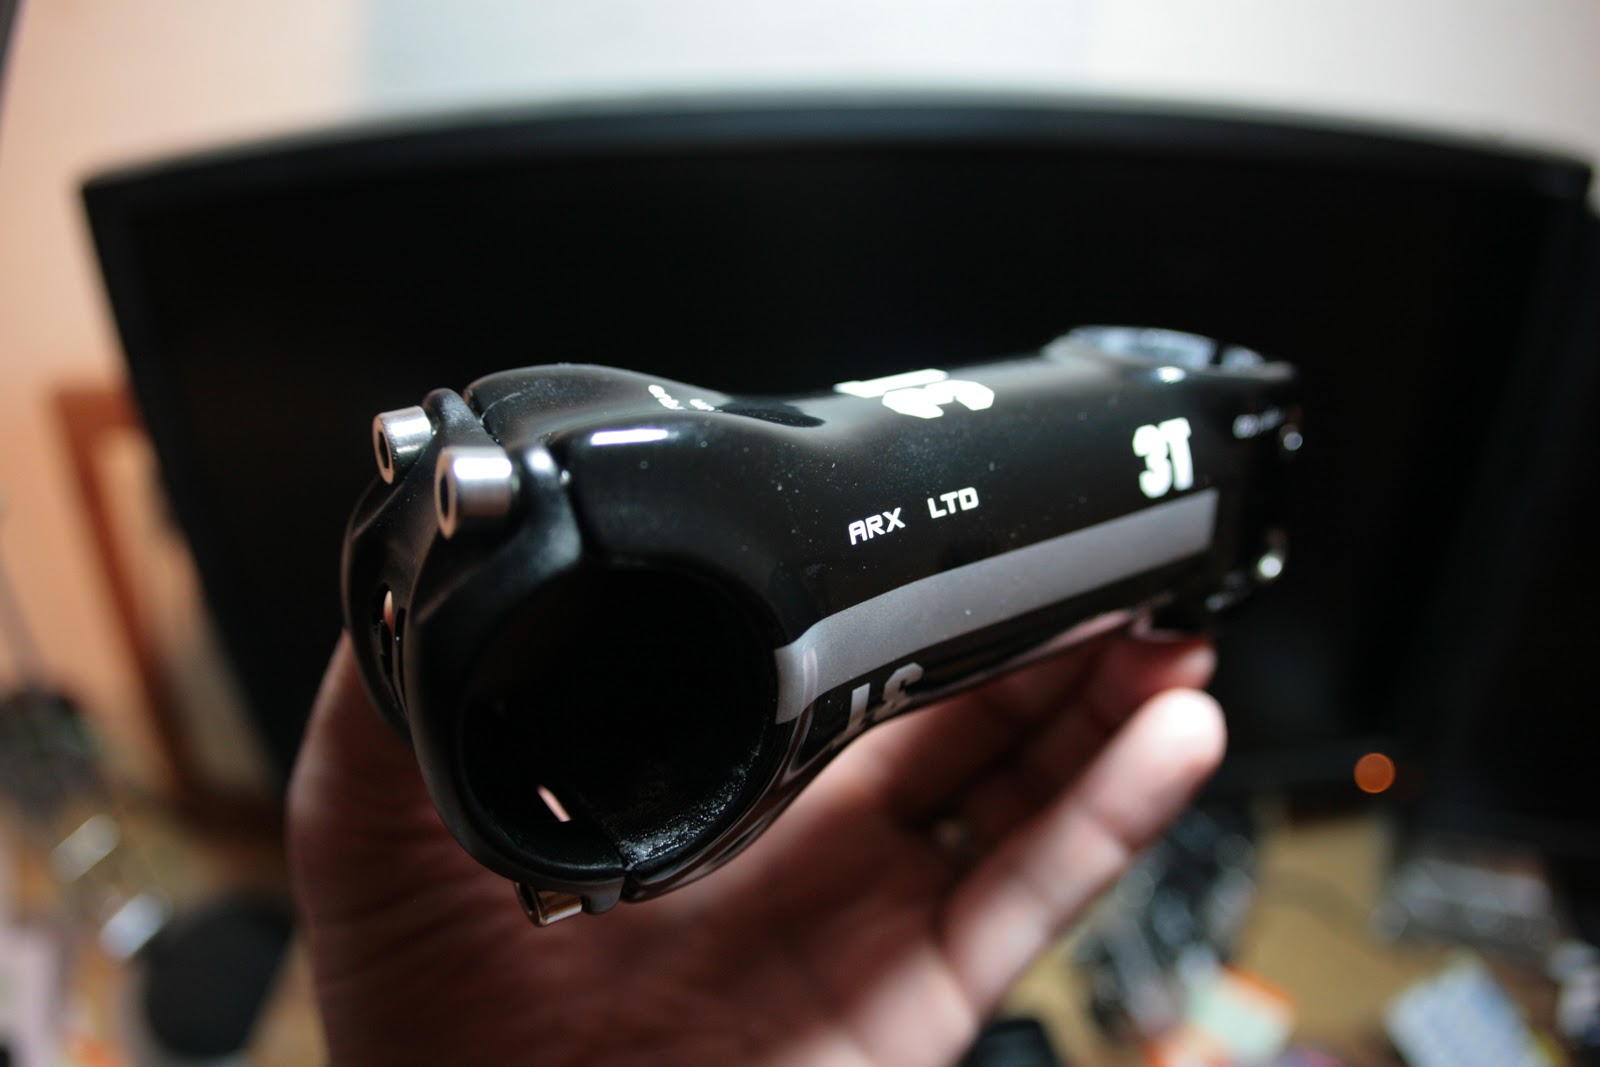
This frame is a 53cm which is centre of BB to top of seat tube. It measures slightly smaller than my Look 481 which is also a 53cm and I wanted it to be. I'm only talking 10mm smaller on top tube and seat tube so very minor. I've already posted up pics of the components on scales so you know the weights. GreatKeen report the 53cm to be 950g raw. They also state that the T1000 carbon is available by special order. It doesn't say what my actual carbon is, I will ask but it is the same as all of the other products. the seat tube and FSA rep bars look amazing, finished in gloss. The 3T stem is nice and chunky, well finished and looks good, fitted really well and one of the 4 handle bar bolts was a tad askew but it does not affect anything and only noticed during taking them out to fit the bars. The FSA K-force aero bars are a bit different to what I'm used to, ergonomic shape on the drops and also a small drop, still to fine tune the alignment and brake position. Very nice finish including rough clear coat sections for brake and stem attachment.
I'm fitting a full conventional Chorus group set. Despite the obvious cost implication, I'm not interested in Electronic wizardry just yet. English BB cups. All standard fittings worked for brakes into the forks and frame.
Frame.
The first thing I noticed is there are no internal cable guide sheathes/tubes. There is one through the BB to run the front derailleur cable though but otherwise nothing. I've emailed GreatKeen and they say that it's meant to be that way and I think the internal cables are such located that there is no rubbing internally. I've connected everything up and it all shifts and brakes fine so happy days. The covers to the holes which are removable I'll call them stops, project quite a bit into the tube so this gives the cable clearance. The frame came with the stops for Di2 installed so I needed to swap the 3 at the head tube and one on the rear stay for normal cable ones, all supplied with the frame. I've taken pics of the head tube ones before, removed and after.
I opted for a Token chain keeper on the front, it comes with a few extra long bolts and I opted for one for the Sram setup that I thought was ok, it turned out to be too long and nearly ruined one of the limiter screws, it also was not tightening up enough and slipping which was causing me loads of stress setting up the chain. There was no apparent resistance so didn't realise until I took it apart to investigate. Putting the right bolt in solved the problem and the limiter screw is not adversely affected so disaster avoided.
There was only a few minor issues. The forks had a paint blob next to where the head set collar goes, didn't look like it would foul but I sanded it down any way. I also evened out a small raised seem type affair on the other side, it was say 0.3mm but I sanded it any way. The Pinarello fork has an ally collar where the bottom race fits, this puppy is just carbon but it has the 1.5 inch bottom bearing and 1/1/8th top bearing. All went on perfectly with no hammering needed. The bottom integrated ally collar was clean, the upper one had some resin residue, very small amount and I just scraped it off with a mini screw driver. They provide a machined carbon cap which you use to replace the stock head set collar. There was a couple of very thin shims provided in the 1/1/8th size but the collar sits 0.5mm proud of the frame at the mo before I have installed the top compression piece.
One thing I have noticed, the shift cable guides below the BB are set in a recess. the entry from the head tube is one complete slot across the full width of the frame. I will be looking at how my friends Dog 2 appears. The guide is a stock one in an asymmetrical "H" shape, pictures I've seen of the real thing has a full rectangular insert here which may have covered this slot. I will look and report my findings.
I've read that some hangers are not sitting straight and couldn't suss if mine was so took it off to check for paint over spray or resin residue but it's was completely clean, I sanded a bit of the area where it's shaped to make sure there was no bearing up of the outside of the hanger against the thicker tube section. So far it's running ok but need to finish setting the gears.
Seat post fit like a glove, as does the clamp but I've not sat on it yet!
I chased out the bottom bracket threads with a specialist tool and there was some material removed held in the grease of the thread tool so worth doing. Cups went in fine and as they come pre-treated with thread lock needed a spanner to install, so can't comment on quality of thread. Crank has gone in fine, I'm yet to torque it up properly and have to hold my hands up that I didn't use a micrometer to check that the width of the BB was in tolerance but so far there seems to be no play and no binding.
The front derailleur hanger bracket was slightly loose, one of the two bolts needed tightening and there is some adjustment available to ensure you can align things.
I have looked inside the frame as much as possible and the layup internally looks in good order. So much so it's hard to tell if they use the internal bladder technique or the newer polystyrene former that's supposed to be eroded away. I suspect bladder.
To be nit picking on finish, the BOB colours is a mat finish with logo's masked and removed to reveal the gloss carbon weave below, one of the rear stays had one bit of masking still in place. I actually spotted it on my un-boxing pics. there's a couple of patches on the carbon beneath the mat finish where the carbon looks dry of resin, but it's say a few millimeters here and there.
So as it stands, Chain is on and set to the right length, everything is shifting fine but I've not set the stops yet. I'm using a Token chain keeper. Brakes are working fine and wheels sit central in the frame. I need to go through all the fixings and torque them, my friends shop didn't have the tooling to fit my torque wrenches so I'll finish up tomorrow with the gears, clip the cable ends and cap them as well as set the seat and bar height and finally cut the steerer. I've got quite a few spacers so might leave it quite proud should I want to sell in the future.
I'm happy with the total 7370g weight including pedals, Cosmic SL's are not that light and a full carbon set would bring it close to 7kg mark, I've since fitted the carbon bottle cages and will loose quite a bit of steerer so it will get marginally lighter.
More to follow, hope you found this ramble useful.